Portable jibs for cinematic quality videoIndependant Project, 2008-Present
|
Skills
Iterative Prototyping Machining, Mill/Lathe Videography |
|
|
It started simply enough: How can I make a simple jib to add cinematic production value to my videos?
Every tinkerer has their own long-running project. I've been designing and building camera jibs since I became interested in videography in highschool. In simplest form, a jib is a pole that can pivot and rotate about a base, with a camera on one end and a counterweight on the other. The main function of a jib is to keep the camera level as the jib is raised and lowered. A jib also serves to give extremely smooth shots, as well as unique angles and effects. Jibs are one of the main rigs that give a definitive cinematic quality to videos, the epic sweeps and lifts they can be used for add serious production value.
|
Learn about jibs and see my early designs in this behind the scenes video
|
The first longboarding edit I filmed with The Big Jib made full use of its huge, sweeping shots
|
The first jib I used seriously for video production was simply a 14' single piece aluminum tube with a pair of pulleys to control the camera angle. It was big, difficult to transport, but produced unparalleled shots. I was hooked, now the question became how to make a jib portable enough to take to any filming location, from cliff jumping spots in the woods to longboarding sessions at local hills. I worked in two extremes to address the challenge: A small, extremely simple jib for rapid setup, and a much larger jib for bigger shots, but requiring more setup time.
|
Porta Jib 2013
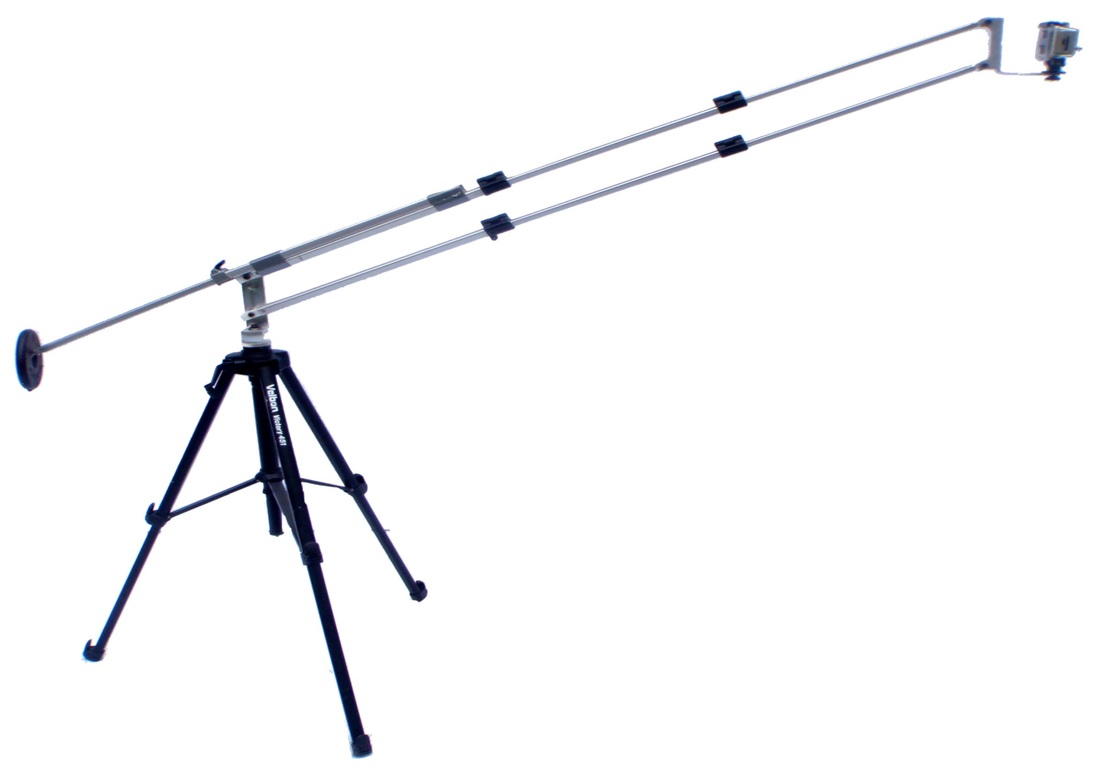
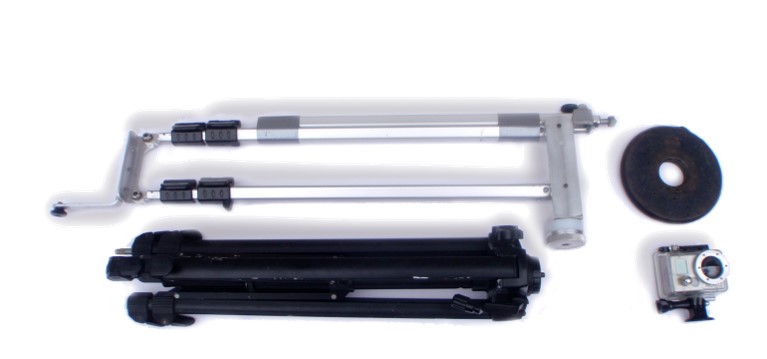
The Porta-Jib is made of made with teloscopic aluminum tubing. Is uses a pair of pulleys and a loop of cable to control the camera tilt, allowing the tilt to be easily adjusted on the fly. With an impressive reach, this jib is capable of big shots, but its still small enough to be carried in a backpack. |
Design Expansion: Pan Control
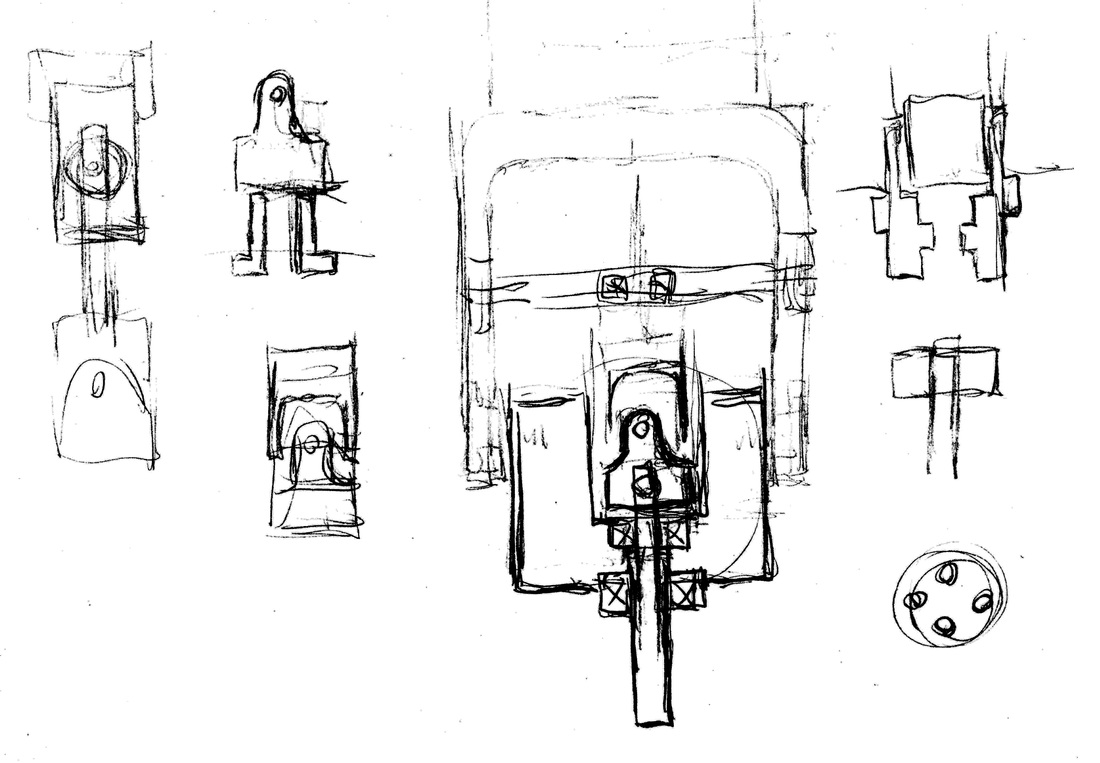
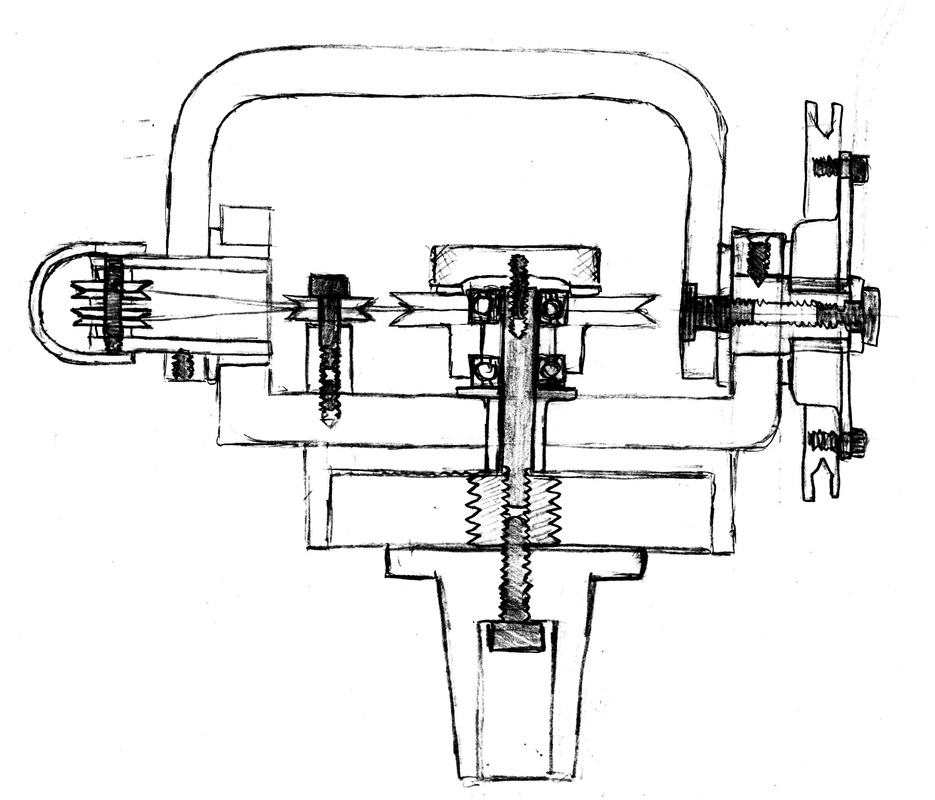
After using the first jibs I had made for over a year of great filming, I wanted to add something new to the equation: pan control. Having control of the cameras pan (side to side rotation) in addition to the control of the jib pole could provide much more dynamic and exciting shots. And in my usual style, I wanted to achieve this with only a simple mechanical system. I started exploring options for pan control with sketches, SolidWorks mock-ups, and works-like prototypes.
After using the first jibs I had made for over a year of great filming, I wanted to add something new to the equation: pan control. Having control of the cameras pan (side to side rotation) in addition to the control of the jib pole could provide much more dynamic and exciting shots. And in my usual style, I wanted to achieve this with only a simple mechanical system. I started exploring options for pan control with sketches, SolidWorks mock-ups, and works-like prototypes.
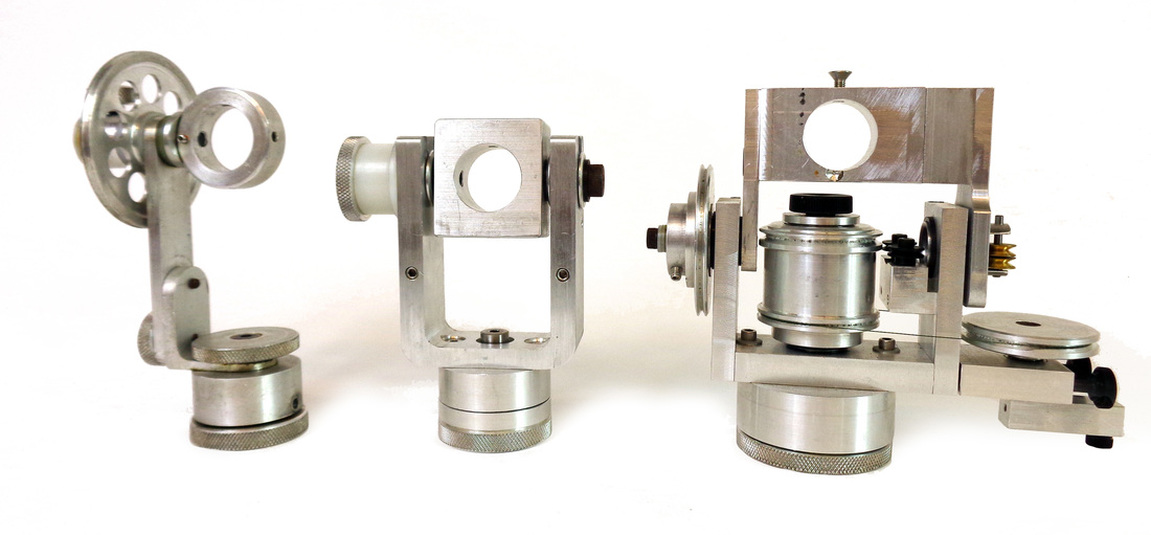
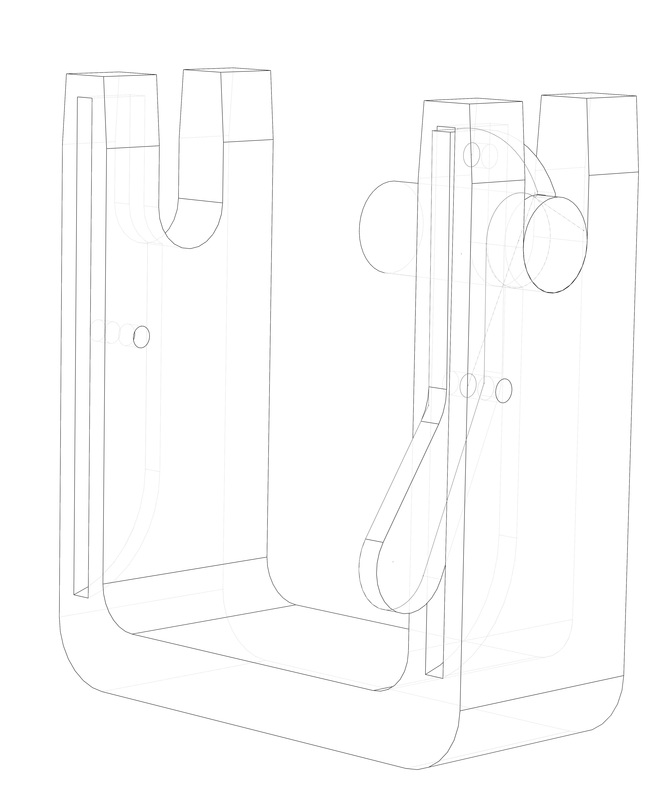
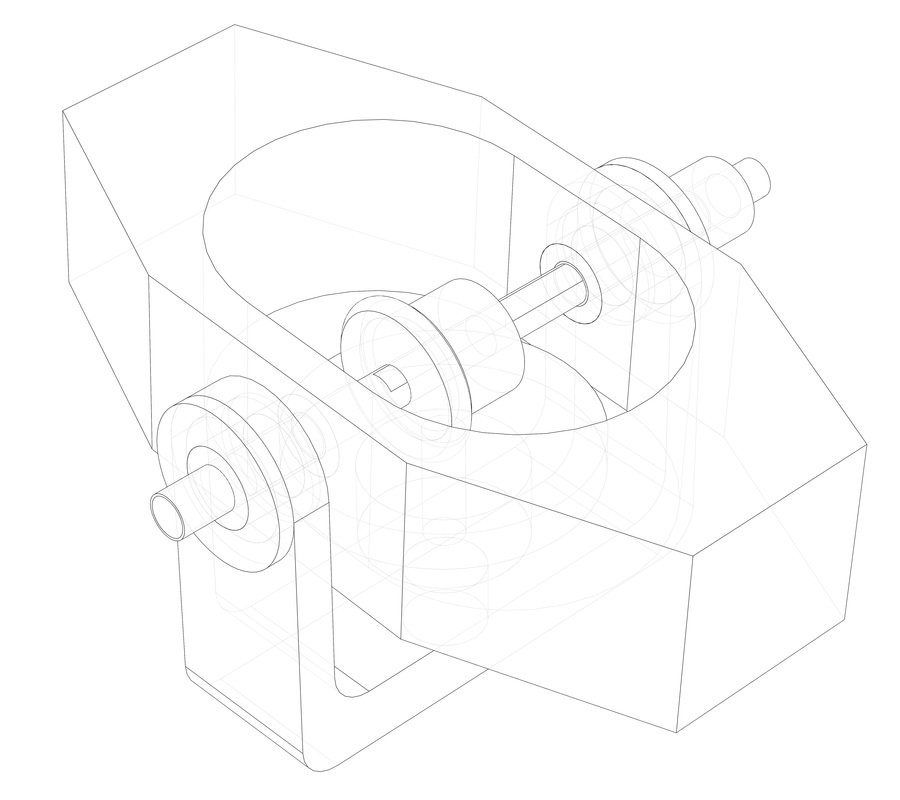
A progression of prototype base assemblies: the original Porta Jib, the Drop in Jib, and the first Auto Pan Jib.
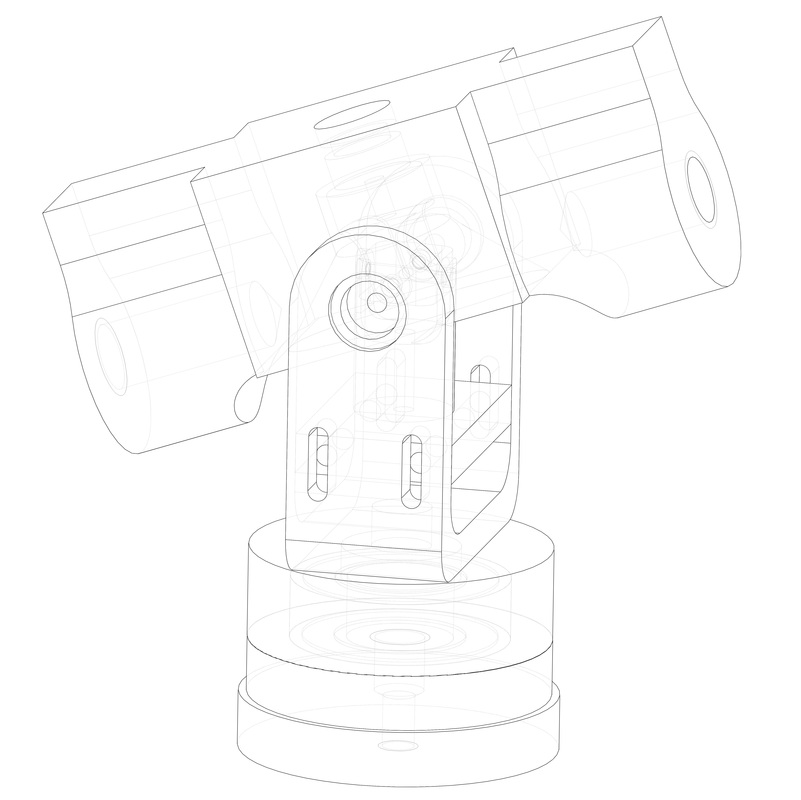
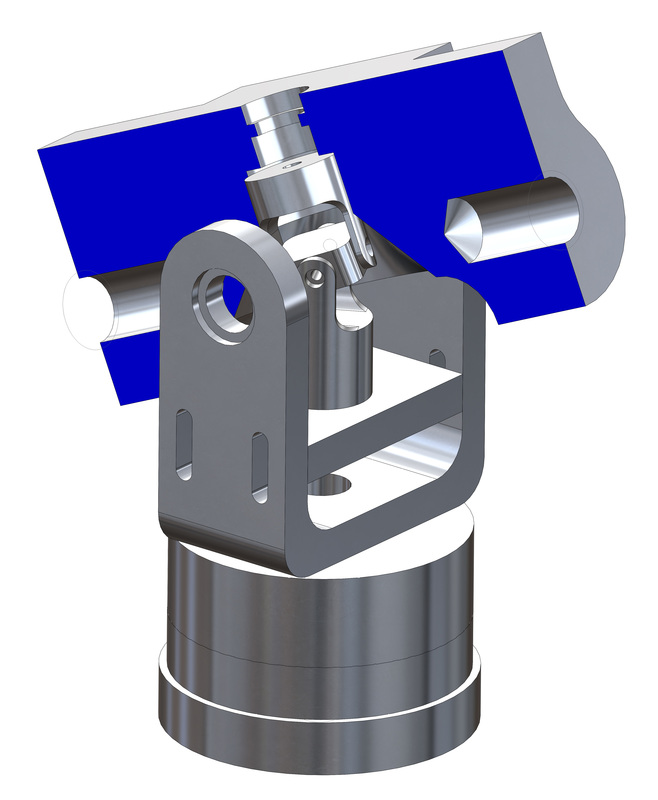
The UV Jib section view in SolidWorks. The goal of this design was to use a universal joint to transfer the pan motion from the base to the pivoting boom, then to the camera head. It proved to be too constraining to fit a pair of universal joints in the base of the jib
Pan Tilt testing
The first successful automatic pan jib used a system of cables to link the camera's pan to the pan of the tripod head, which would keep the camera orthogonal to a plane even as the jib swept side to side. I used the new jib to film After Hours, a fun edit of my friend Arthur gracefully rollerskating around the engineering school. The look of an orthogonal pan was breathtaking; it opened up a whole new way to film with a jib. Adding "planar pan" to a jib creates the look of a slider rig, but with the flexibility of movement in 3 dimensions.
The first successful automatic pan jib used a system of cables to link the camera's pan to the pan of the tripod head, which would keep the camera orthogonal to a plane even as the jib swept side to side. I used the new jib to film After Hours, a fun edit of my friend Arthur gracefully rollerskating around the engineering school. The look of an orthogonal pan was breathtaking; it opened up a whole new way to film with a jib. Adding "planar pan" to a jib creates the look of a slider rig, but with the flexibility of movement in 3 dimensions.
After filming After Hours, I moved on to the next goal of automatic pan control: center tracking. I had already explored manual pan with an inertial damper, but wanted to see if I could add a mechanical system to automatically center the camera on a fixed target as the jib sweeps back and forth.
Pan types explained. Standard follows the angle of the jib with no pan control. Planar keeps the camera orthogonal to a plane. Center aligns the camera to a target.
The Carbon Jib
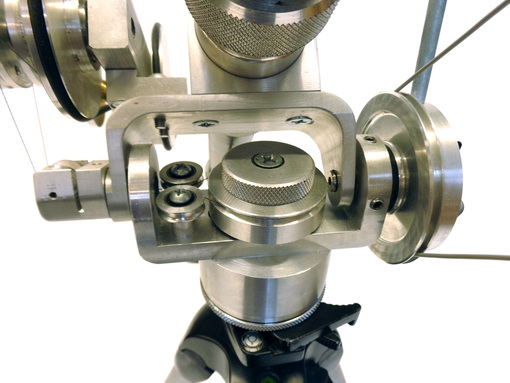
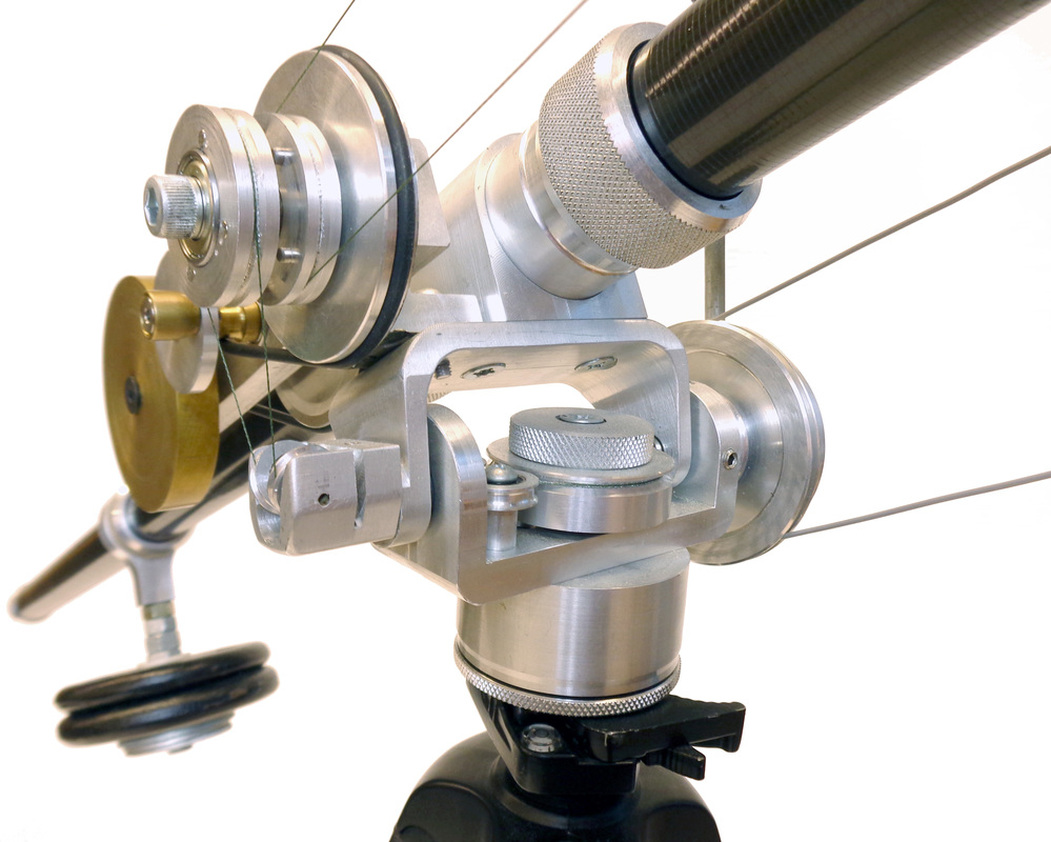
After all my work with jibs, I wanted to bring together all the design, mechanics, and usability insights I'd had over the years into one versatile and extremely capable jib. Instead of aluminum tubing, I would use carbon for weight and stiffness. The length would need to be around 15' but pack down to 3 or 4 feet for transport. The key would be the base pivot head design, something that would accommodate the planar pan tracking pulleys and allow for the addition of a manual control.
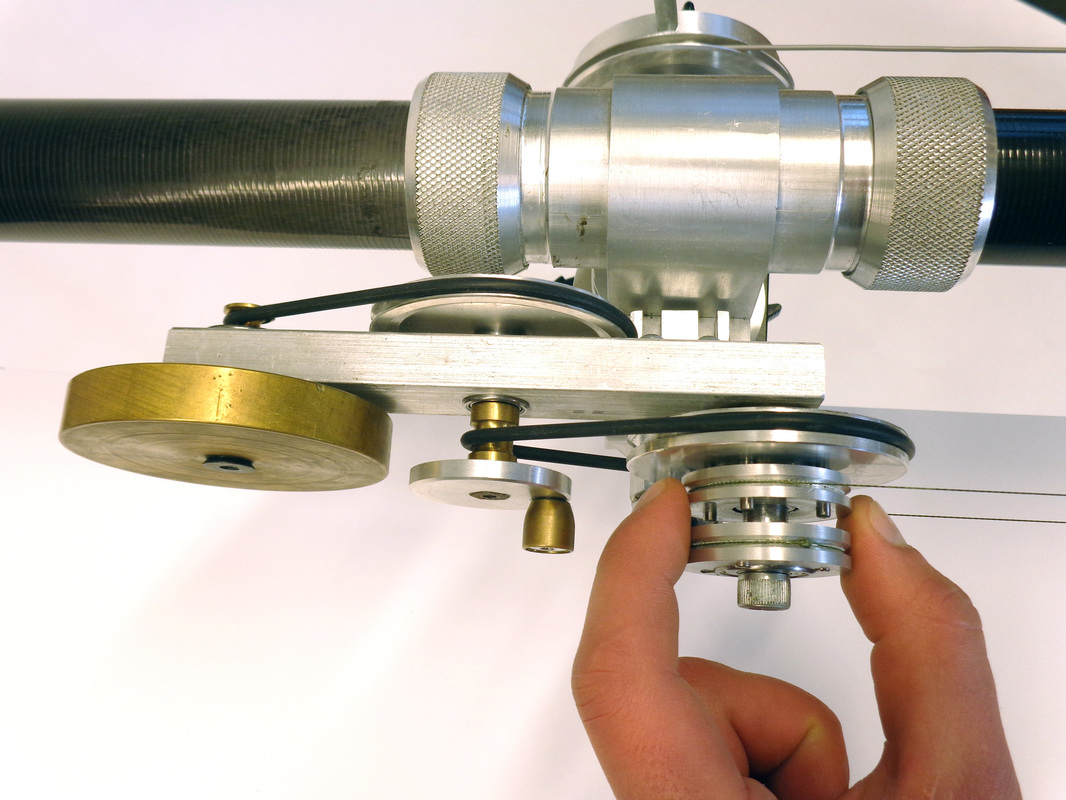
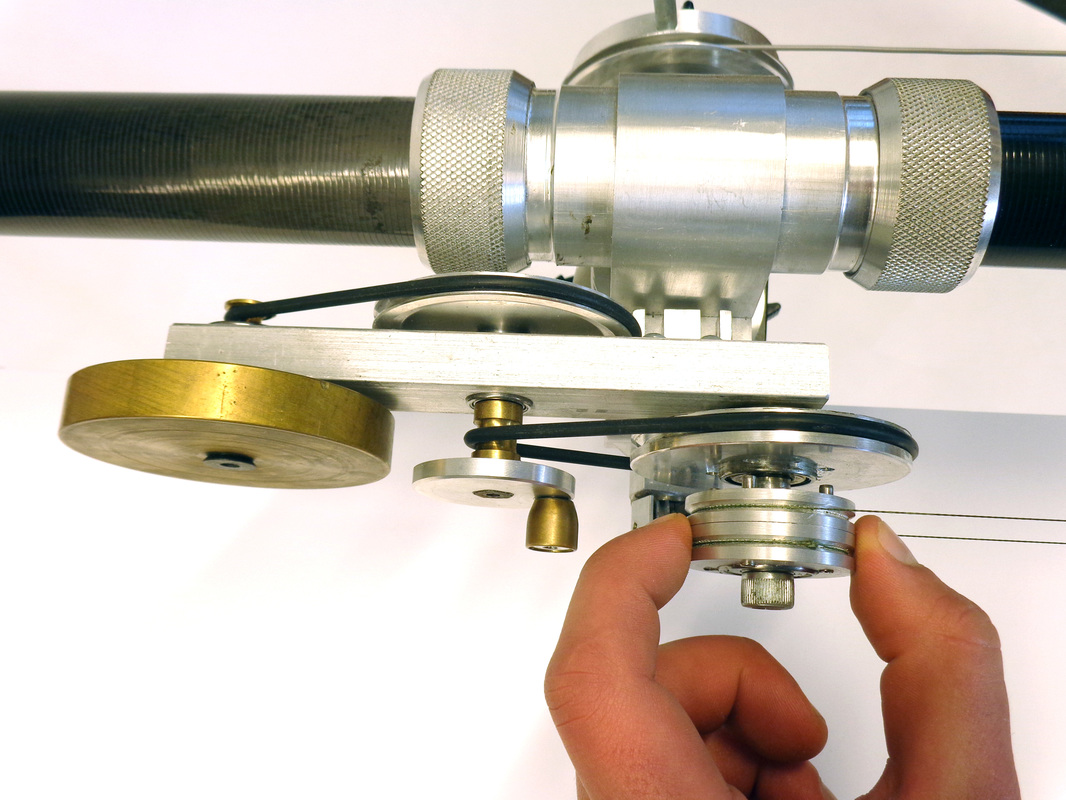
For pan control, I decided to not include center tracking. While it is a powerful feature, it adds a lot of complexity to the base. I focused my efforts on the manual pan control, and how to rapidly switch between manual and planar mode with no adjustments. The system I settled on was a magnetic clutch between the manual and auto control pulleys. The pulley linked to the camera can be slid between pulleys driven by the manual and auto pan systems and is held to either side by magnets. Swapping between modes with the system takes seconds, compared to the minute or more of careful adjustments needed in earlier jibs.
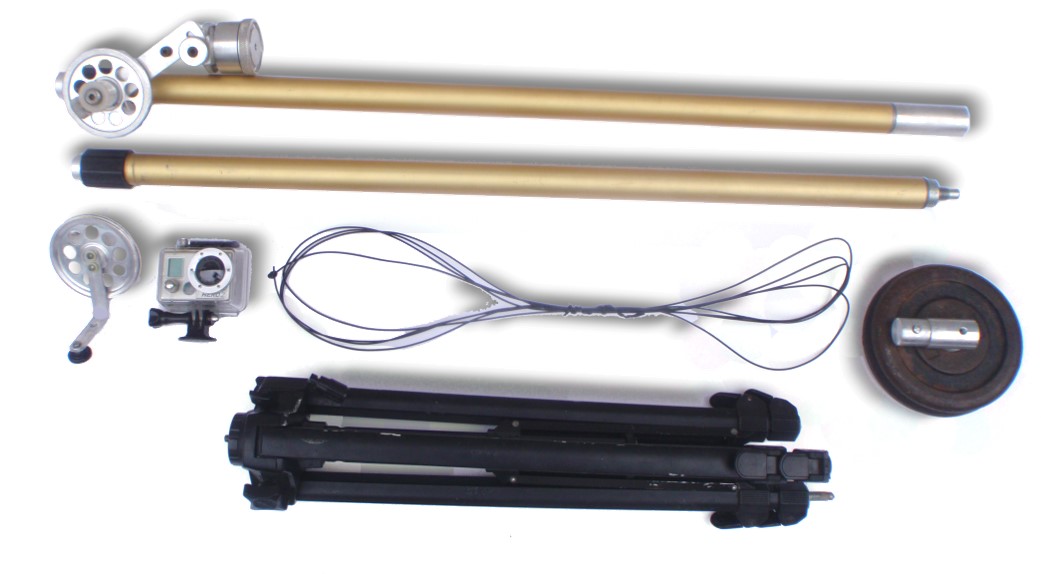
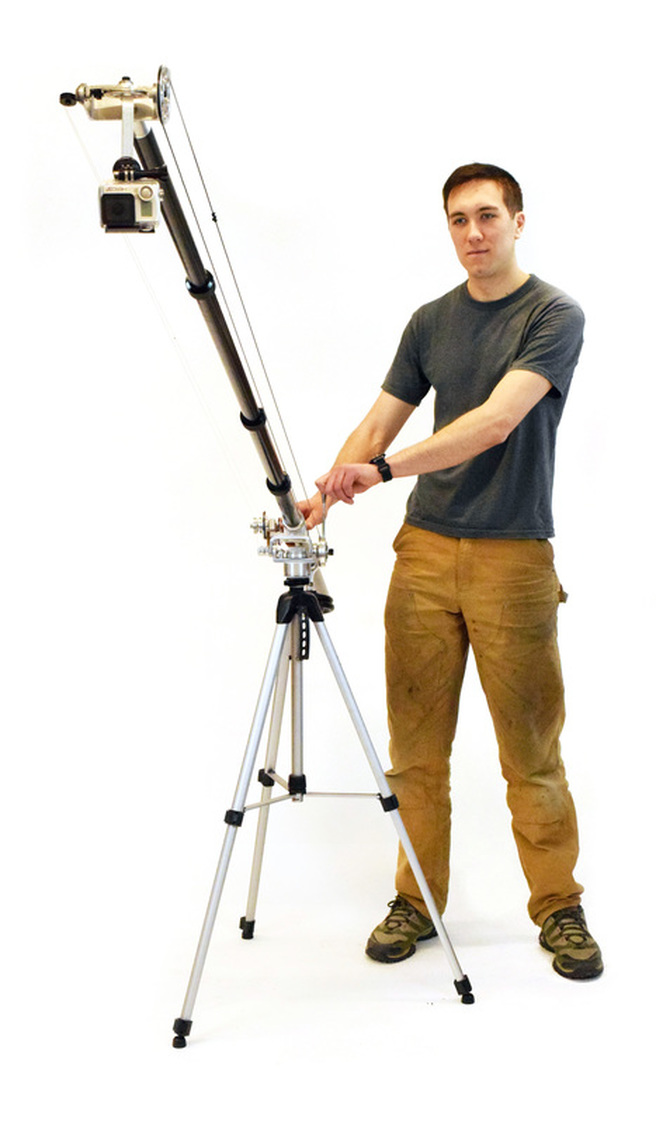
The carbon jib, shown at less than half its extended length of 15'

