Installation art meets engineeringCollaboration with Lukas Zirgnibl, Winter/Spring 2015
|
Skills
SolidWorks Linear motion 2-Axis gantry design Magnetic control |
|
|
"How can we make a drawing machine with no visible mechanism?"
While working as Design Fellow at Thayer School, I was often approached by students with odd and challenging engineering problems. Lukas Zirgnibl, a friend and Engineering / Studio Art / Computer Science student wanted to build a drawing machine for his masters thesis in Digital Art. His end goal was a self contained installation piece that could be mounted on a wall like a large canvas and would draw in real time. He wanted a machine with precise and repeatable 2-axis control that could be controlled by a combination of Rasberry Pi and Arduino. He envisioned something at least 4 feet square. It would need to lift the pen while drawing.
And he wanted this all with no visible mechanism... After our first meeting we were both thinking the same thing:
Magnets. We'll use magnets.
And he wanted this all with no visible mechanism... After our first meeting we were both thinking the same thing:
Magnets. We'll use magnets.
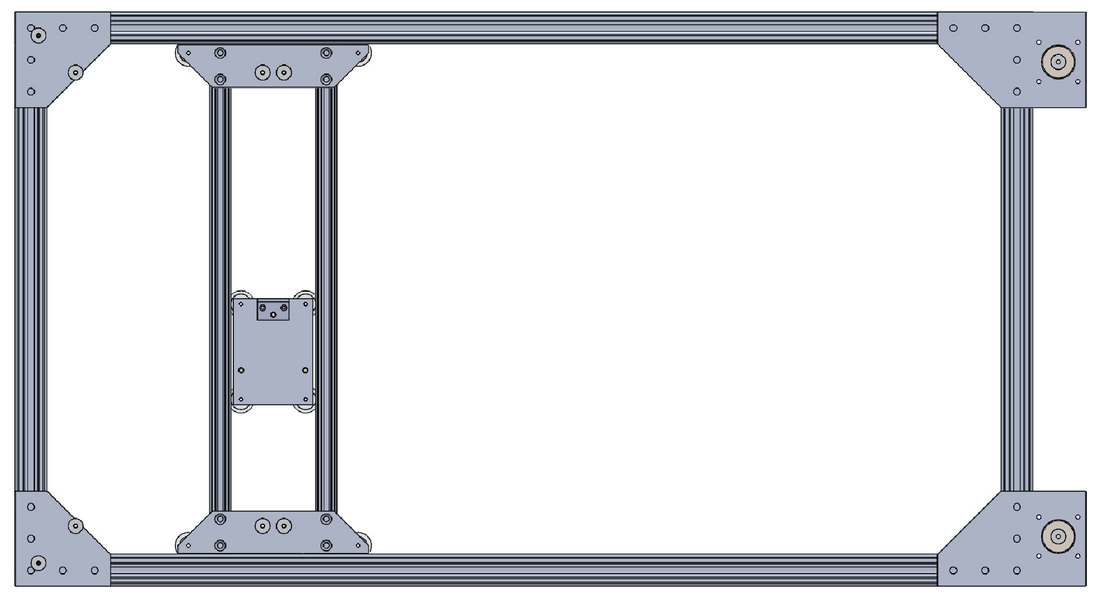
I was intrigued. I agreed to join Luke on the project and work on the mechanical design and fabrication of the machine. We first focused on making some sort of flexible, modular 2-axis gantry. While I researched material and design options, Luke started developing his own simple software interface to convert his digital files to custom g-code and run the two stepper motors that would control the machine. We settled on a unique system of control called CoreXY, which used a pair of toothed belt to control a 2 axis gantry. The design we started with was based on a 2-axis laser cutter made by Joshua Vasquez . Using 80 20 extrusions for the frame allowed for future size increases and simple construction. I decided to substitute wheels that rolled in the T-Slots for the linear bearings that Vasquez used on his gantry to reduce the cost, weight, and fabrication time.
Completed SolidWorks of the 2' x 4' gantry
Making a 2 axis gantry was not the challenge here though. We used a proven design with some simple modifications. We completed a 2' x 4' gantry in the first month of our once a week afternoon workdays. Luke's got his control systems working, and soon we were moving the gantry around. The real magic we had to figure out was the pen holder.
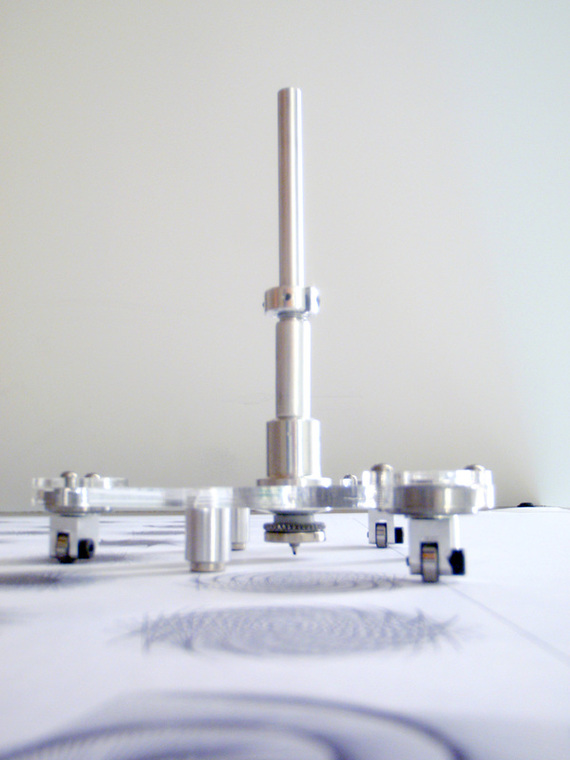
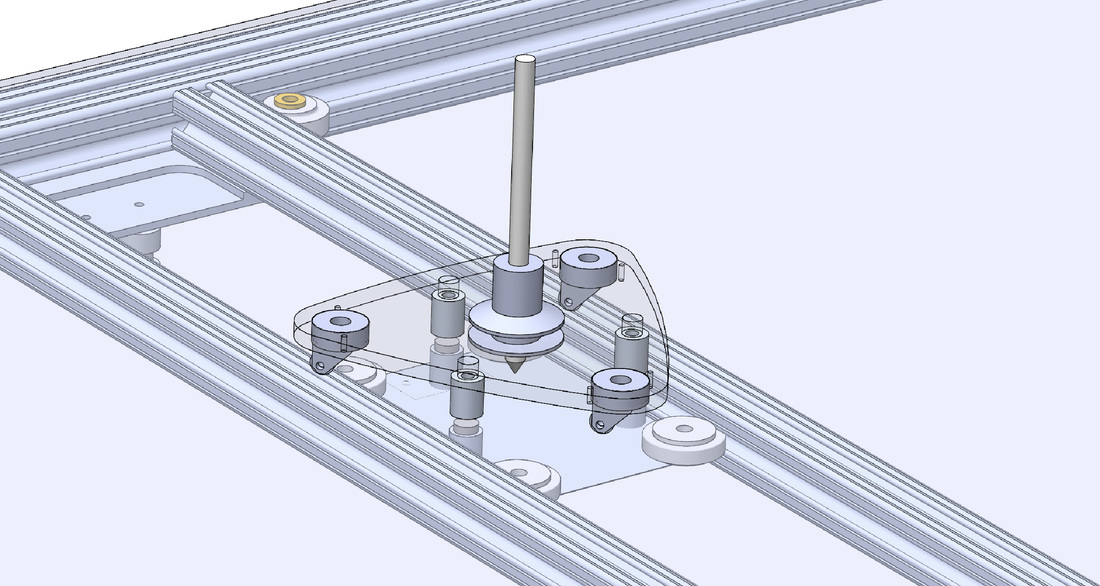
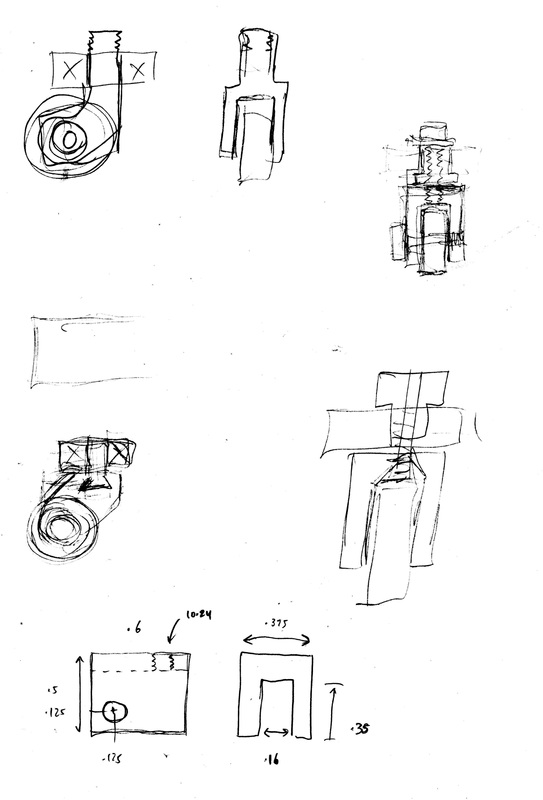
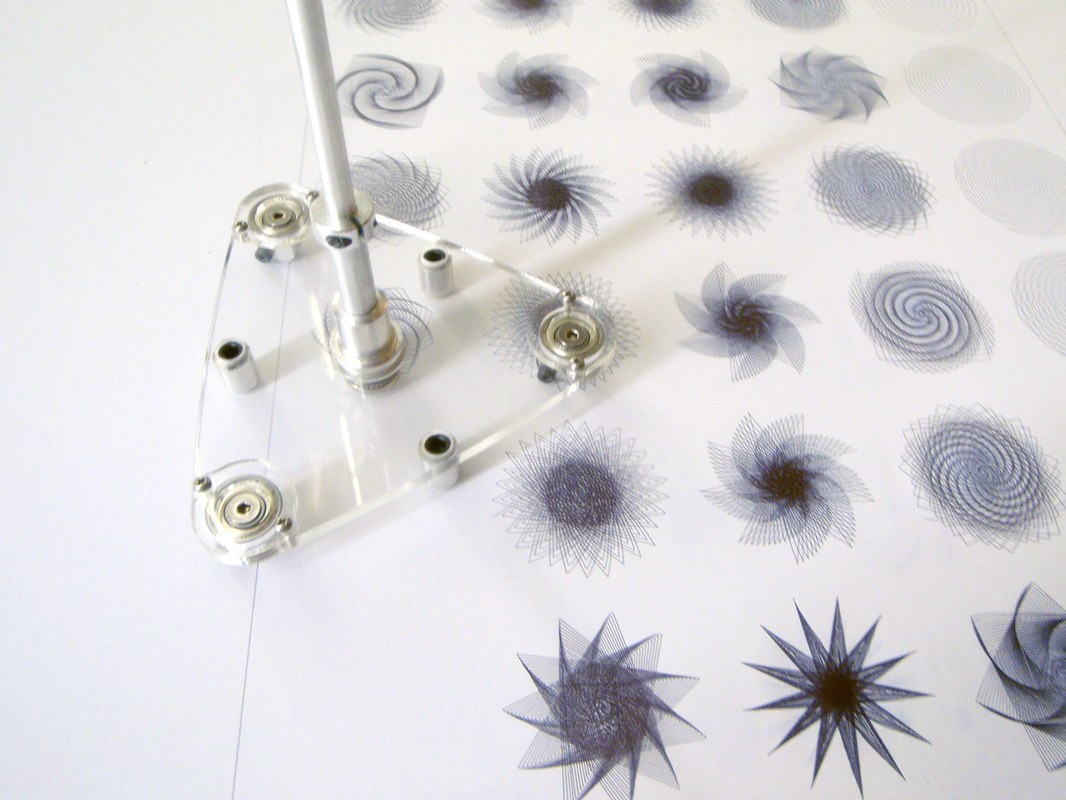
Our first prototype used spherical metal wheels with three paired magnets to link the holder to the gantry. It worked...poorly. The metal sphere wheels simply had too much resistance to get accurate pen control. After trying to correct the slop with increased magnetic holding force and even tweaking the control system, there was one thing left to try. Miniature caster wheels...
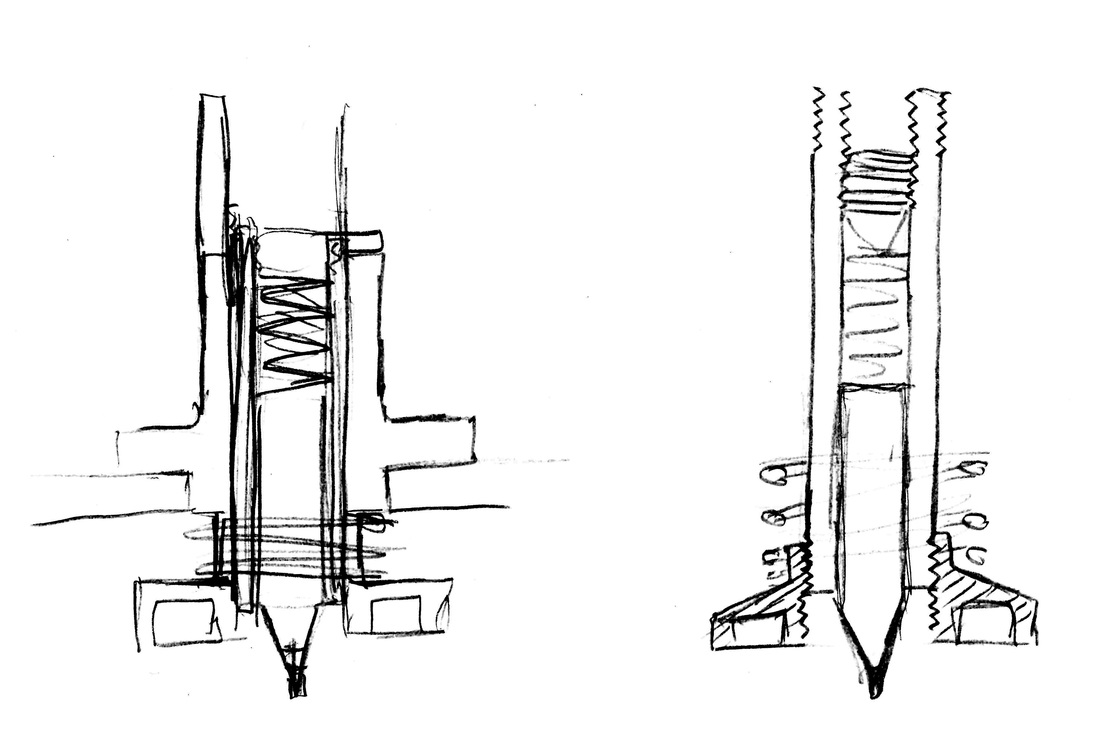
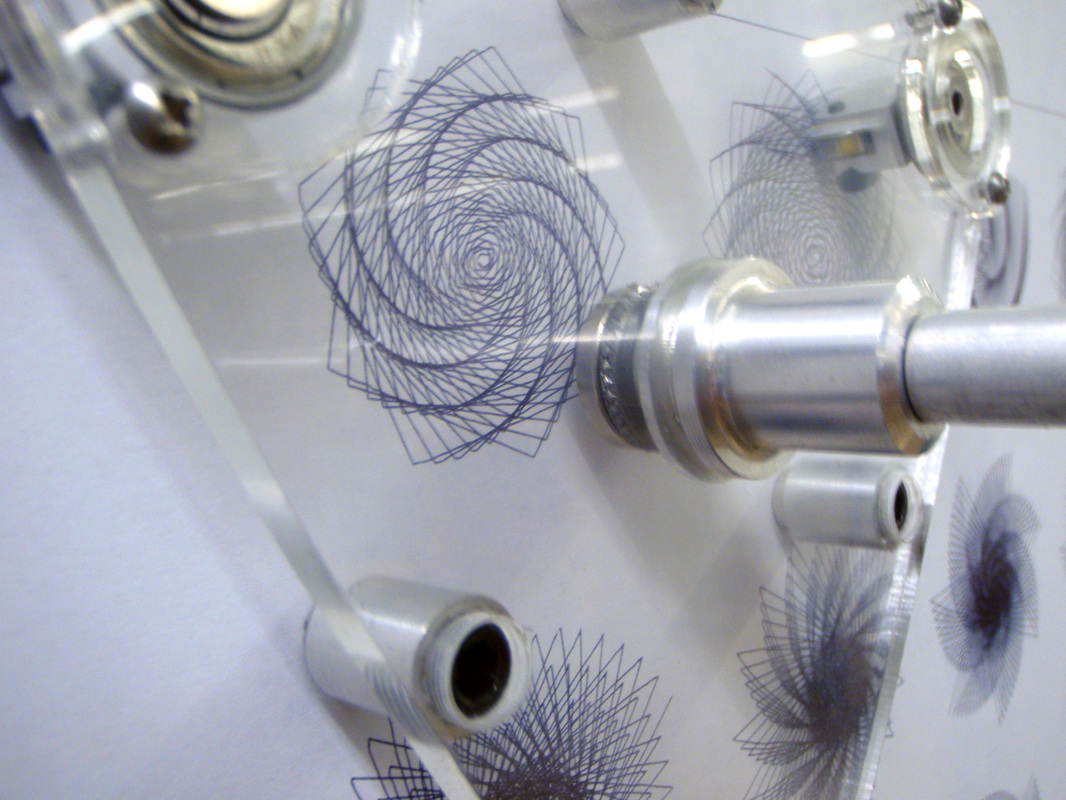
I machined three tiny caster wheels with miniature ball bearings for the wheel and rotation. The fix worked! And the machine was finally able to produce the precise pen control that Luke was after. Our initial test drawings were spectacular. Not only was the machine capable of producing great drawings, but it was mesmerizing to watch. After adding the casters, I designed and machined the mechanism to allow the pen to retract. A magnet on the pen would be pulled against the paper by a magnet moved by a servomotor on the gantry. Rotating the servo would release the magnet, and a spring on the pen holder would retract the pen.
After increasing the original machine to a 4' x 4' square, we made a new 4' x 8' gantry. Luke added limit switches to the x and y axis to allow the machine to continuously calibrate itself while running. The drawing machines were featured at the Hopkins Center Digital Arts Exhibition and the Thayer School Open House. After months of work, Luke had his own exhibition of the machines and his other work as part of his thesis presentation.

